
TL;DR

Get coffee and tea gear delivered free with Prime
- Fast, free delivery on millions of items
- Prime Video, Amazon Music and more included
- Member-only deals all year
Espresso shot time tells you how long a shot ran, but not how evenly the coffee extracted or how much espresso reached the cup. Track dose, beverage yield, timing method, and taste together; use time to guide small adjustments, not as a score for shot quality.
A 30-second espresso can taste bright and balanced—or sour, bitter, and strangely thin. The timer can match while the cup tells a different story.
That’s because shot time is an outcome, not a full recipe. You’ll see how dose, yield, grind, puck preparation, machine behavior, and the coffee itself shape extraction, then learn a simple way to dial in without chasing one number.
Treat shot time as a diagnostic clue, not a quality score; two shots with the same duration can taste very different.
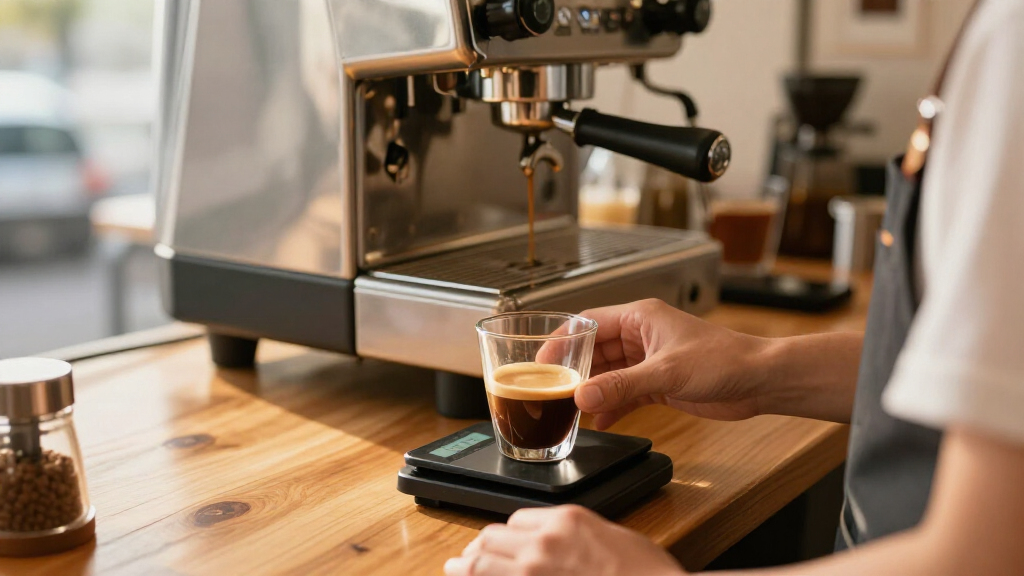
Track dry dose and beverage yield to know the brew ratio, such as 18 grams in and 36 grams out for 1:2.
Use the same timing convention each time, since pump-start and first-drip times cannot be compared directly.
When a shot tastes off, keep dose and yield steady, change one variable in a small step, and taste again.
Record time, dose, yield, and flavor together so you can learn what works as your coffee ages.
Why a 30-second shot can still taste wrong
Shot time alone does not tell you whether espresso extracted evenly or tastes balanced. It records how long water took to pass through a particular coffee bed under particular conditions. It does not tell you where the water flowed, how much coffee ended up in the cup, or what flavors you taste.
Time is useful because it can reveal that something changed: if the same recipe suddenly runs much faster, resistance or flow likely changed. But it cannot identify the cause. A fast path through one channel can coexist with poorly wetted grounds elsewhere, so some parts of the puck contribute sharp flavors while others contribute dry or bitter ones.
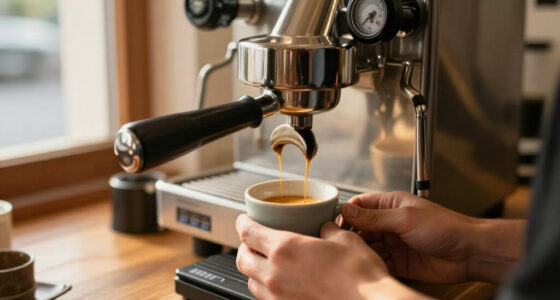
For instance, two shots from the same machine both run for 30 seconds. The first comes from a level, evenly prepared puck; the second has a small crack near the basket edge. Their timers agree, but the crack can let water bypass much of the coffee. That uneven contact can make the second cup taste both sharp and harsh despite its familiar duration.
Use time as a repeatable clue, then interpret it with the recipe and cup. A stable time alongside a changed taste suggests checking yield, coffee age, or puck preparation; a changed time and taste together may point toward grind or flow. Those patterns help focus the next adjustment, though taste remains the measure of whether it worked.
How dose and yield change what 30 seconds means
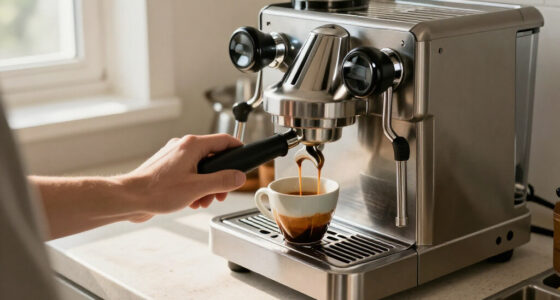
Dose and yield tell you how concentrated a shot is, while time tells you how long it ran. Dose is the dry coffee in the basket; yield is the espresso in the cup. Together they define the brew ratio, such as 18 grams of coffee to 36 grams of espresso, or 1:2. Yield matters because it changes how much liquid carries the dissolved coffee into the cup.
Imagine pulling 18 grams of coffee for 36 grams out, then pulling the same dose for 54 grams out. Both shots might take 30 seconds, but the second has more liquid relative to the coffee. It may taste lighter or more diluted, and its later portion can add flavors that change the finish. A timer cannot show the extra 18 grams; a scale can.
A common starting recipe is a 1:2 ratio, but it is a starting point rather than a rule. A shorter yield can make a shot more concentrated and may limit a dry finish, though it can also leave a light roast tasting too sharp or intense. A longer yield can soften concentration or bring out different flavors, but may make a darker coffee seem thin or bitter. The coffee and your taste decide which tradeoff works.
Use a scale that can read grams and record both weights. If a shot tastes sharper, a matching dose and yield help you avoid changing grind to compensate for a recipe that simply produced more liquid. Once the ratio is repeatable, you can adjust it deliberately and tell whether the new balance came from the yield or another change.
What grind and puck preparation reveal about the flow
Grind size and puck preparation control how water moves through the coffee. Finer grounds usually create more resistance, while coarser grounds usually let water pass more freely. But resistance is not the same as even extraction: distribution, tamping, and channeling affect whether water contacts the bed uniformly. A familiar time can therefore conceal very different flow paths.
Picture a garden hose with one kinked section: water still comes out, but it does not travel evenly. A clump of grounds or a weak spot at the basket edge can have a similar effect. Water may rush through the easier route while other areas contribute less. The resulting mix can taste both sour and dry, since different parts of the puck have contributed different flavors.
For example, if the first drops appear on one side of the basket and the stream stays lopsided, suspect uneven flow before changing several recipe settings at once. A careful distribution and a level tamp can help create a more uniform puck, making the shot easier to interpret. A heavy tamp alone will not fix clumps or a damaged flow path; pressing harder may simply leave the original unevenness in place.
When a shot tastes uneven, keep the dose and target yield steady, then make a small grind adjustment or improve your puck preparation. Finer grinding may slow flow, but if the puck is already channeling it can increase resistance without fixing the bypass. Change one thing at a time so you can tell whether the cup improved because of more even preparation or a different flow rate.
How machine pressure and pre-infusion change a shot
Pressure, flow control, and pre-infusion can change extraction even when two shots share a total time. Some machines deliver water in a steady way; others let you vary pressure or flow, or wet the puck gently before full pressure begins. These stages affect how quickly the puck becomes saturated and how water moves through it. The timer captures total duration, but not the shape of that process.
For instance, one 30-second shot might spend several seconds soaking the puck before the main flow starts. That wetting phase can help water reach the grounds before stronger flow begins. Another shot might push water at full pressure from the outset, which can expose weak spots earlier. Neither method is automatically better; the result depends on the machine, recipe, and puck. The same total time can contain different stages, much like two songs that last three minutes but use different rhythms.
This is why comparisons need a consistent timing method. Some people start the timer when they activate the pump; others start when espresso first appears. Pump-start timing includes any pre-infusion delay, while first-drip timing leaves it out. Neither convention makes a shot better, but their numbers are not directly interchangeable.
If your machine has pre-infusion or profiling controls, write down the setting alongside dose and yield. Changing the profile can alter the shot even if the displayed time stays constant, so keeping it stable gives you a clearer baseline. You do not need to manipulate every control: a repeatable machine recipe makes taste changes easier to trace.
Why yesterday’s grind setting may not work today
Coffee changes as it rests and ages, so yesterday’s setting may not produce the same flow today. Bean variety, roast level, freshness, and resting time all affect how coffee behaves and which flavors come forward. Even with the same dose and machine, the puck may offer different resistance, so the same grinder setting can produce a different time or taste.
Say a bag opened last week produced a balanced 28-second shot. A few days later, the same setting might run faster or taste flatter. That does not mean you forgot how to tamp; the coffee has changed. A small grind adjustment may restore the earlier flow, but taste still determines whether the cup is back in balance—matching the old time alone would not prove it.
Roast level also matters. A darker roast can release bitter, smoky notes readily, while a lighter roast may show sharper fruit or acidity. These characteristics affect what you perceive, but they do not prescribe one universal recipe: shortening a yield might help a dry dark-roast finish, while a light roast may need a longer yield to feel less sharp. Neither flavor is explained by the timer alone.
Keep the bag sealed between uses and follow its storage guidance; avoid leaving beans exposed to heat, moisture, or strong odors. For home espresso, changing one setting in small steps as the coffee ages beats assuming a number from last week still fits. The goal is to preserve a cup you enjoy, even when that means the time gradually shifts.
How to use shot time without chasing it
Use time as feedback while you hold the recipe steady and taste each change. A common starting window is roughly 25–30 seconds, but recipes, machines, coffees, and timer conventions vary. Treat that range as a place to begin, not a pass-or-fail test: forcing a shot into the window can hide a yield or flow problem rather than solve it.
Here’s a practical routine for a new bag. If your first shot runs quickly and tastes thin, note the dose and yield before adjusting. If the yield is on target, make the grind a little finer and keep the other settings fixed; the next cup will show whether added resistance improved the flow and flavor. If the yield was too high, correct that first instead of asking grind to solve two problems.
- Choose a dose and target yield. For example, start with 18 grams in and aim for 36 grams out. This sets a repeatable ratio so changes in taste are easier to interpret.
- Pick a timing method. Start at pump activation or first drip, then use that same method each time. Consistency makes the numbers comparable even though the conventions produce different totals.
- Prepare the puck consistently. Distribute the grounds evenly and tamp level. This reduces avoidable flow differences that can make a grind adjustment misleading.
- Record the result. Note the time, yield, and whether the cup tastes sour, balanced, bitter, thin, or harsh. The notes connect the measured change to the flavor result.
- Change one variable. Adjust grind in a small step, pull another shot, and taste again. Small moves help you identify the cause and avoid overshooting a balance you were close to.
This little log can be as simple as a note on your phone. After three shots, you may spot a pattern: the 1:2 recipe tastes balanced, while a longer yield brings out a dry finish. That pattern reflects your coffee and preferences; it is more useful than winning a race to a particular time.
What sour, bitter, thin, and harsh flavors can tell you
Taste helps you choose your next adjustment because different flaws can point to different causes. Sourness, bitterness, thinness, and harshness do not map neatly to a single time or setting. They are clues to read alongside dose, yield, puck preparation, and flow; the same sensation can have different causes depending on the coffee and recipe.
A sour shot that lasted 30 seconds might have an unsuitable brew ratio or uneven flow; the duration alone cannot rule those out. A fast shot that tastes harsh could reflect the coffee or a patchy extraction rather than simply “too little time.” Taste narrows the search, while repeatable measurements help distinguish whether the issue is concentration, flow, or the coffee’s character.
For example, if an espresso tastes thin, check whether you exceeded your target yield before making the grind finer. If it tastes bitter and dry, hold the dose steady and try a slightly shorter yield, then compare. A shorter yield may reduce the dry finish but could also make the cup more concentrated, so notice whether the change improves the whole sip. These are experiments, not universal fixes: roast and recipe can change the result.
Smell the shot as well as tasting it. Aroma and finish can help you distinguish a lively fruit note from an unpleasant sharpness, or a pleasant roast character from lingering dryness. A sweet, rounded aroma and a smooth finish may matter more to your morning than a stopwatch reading that looks tidy.
Which espresso measurements make a comparison fair?
Dose, yield, timing method, and taste make a more useful shot record than time alone. When you keep those details, you can compare one adjustment with the next instead of relying on a vague memory of “good espresso.” A small scale often helps more than trying to control time to the second because it tells you whether the recipe itself stayed the same.
| What you track | What it tells you | Example note |
|---|---|---|
| Dose | How much dry coffee went into the basket | 18 g |
| Yield | How much espresso landed in the cup | 36 g |
| Time and start point | How long the shot ran under your chosen convention | 29 sec from pump start |
| Taste | Whether the result suited you and what stood out | Sweet, slight citrus, clean finish |
For instance, two 29-second shots are only a fair comparison if you know whether both produced 36 grams, used the same dose, and started the timer the same way. If one yielded 45 grams, you are comparing different recipes even if the clocks match. If the recipe and timing convention match but the flavor changes, then puck preparation, coffee age, or machine behavior becomes more relevant to investigate.
Write one compact line per shot and keep it for the life of the bag. After a few mornings, the notes show how the coffee responds to small changes—and which cup you actually want to make again. That gives the numbers a purpose: they explain the choices that led to a flavor you prefer.
Frequently Asked Questions
What is a good espresso shot time?
Roughly 25–30 seconds is a common starting range, but no single time suits every coffee, machine, or recipe. Use it as a reference, then judge the shot by its dose, yield, and taste.
Why does my espresso taste sour even though it took 30 seconds?
A 30-second duration cannot rule out uneven flow, channeling, or an unsuitable brew ratio. Keep dose and yield consistent, check your puck preparation, and change one setting at a time while tasting.
Should I adjust grind size or shot time first?
Keep your dose and target yield steady, then make a small grind adjustment if the shot tastes off. Time is useful feedback, but flavor tells you whether that adjustment helped.
Do I need a scale to dial in espresso?
A scale makes it easier to repeat your dose and yield, so shot comparisons mean more. It is often more useful than trying to force every coffee into one target time.
Is a longer espresso shot always more extracted?
No. Contact time is only one part of extraction; flow distribution, grind, dose, yield, and machine behavior also shape what reaches the cup. A longer shot is not automatically more balanced or better tasting.
Conclusion
Remember the cup gets the final vote. Record dose, yield, timing method, and taste, then change one variable at a time until the espresso feels balanced to you.
A timer can mark the shot’s path, but your palate tells you whether it was a good trip.
Halloween Picks
halloween
As an affiliate, we earn on qualifying purchases.